
No products in the cart.
Glass Particle in an Injectable: 7 Critical Steps for Safer Source Investigation
Glass particle in an injectable findings require a structured, evidence-based investigation because the appearance of glass-like material alone does not confirm its composition or source. A reliable workflow combines safe sample handling, documented visual examination, microscopy, material characterization, and a disciplined comparison of potential sources.
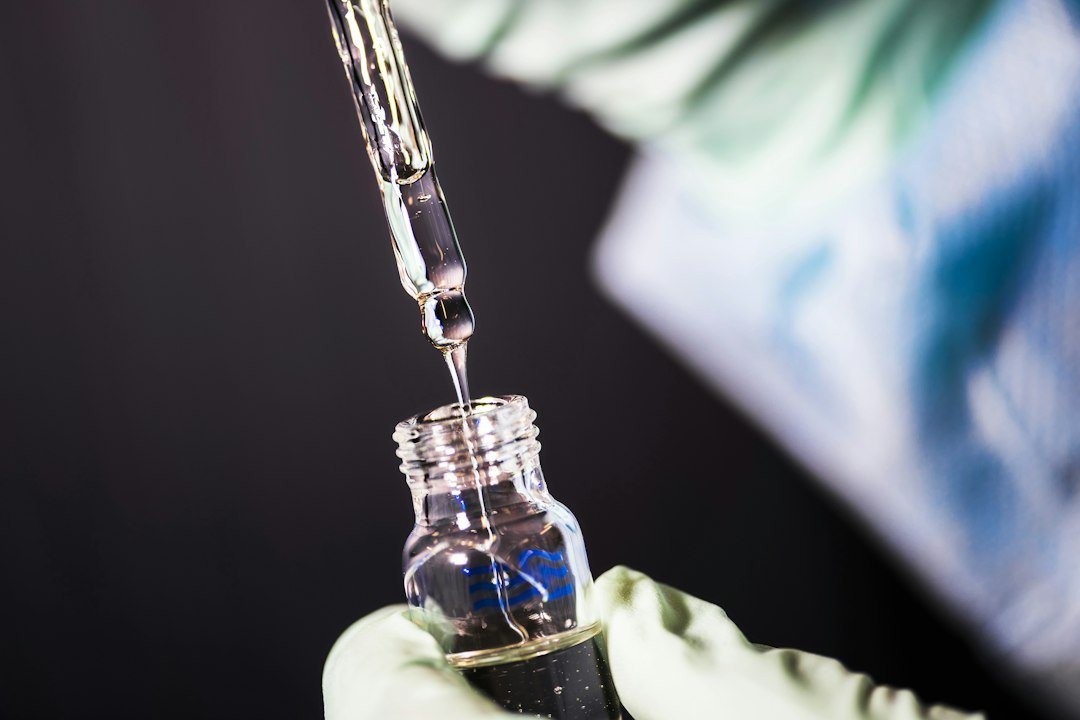
This guide explains how pharmaceutical quality teams can investigate suspected glass particles in injectable products, build defensible evidence, and connect laboratory findings to corrective and preventive action (CAPA). The exact approach should follow the site’s approved procedures, product risk assessment, and applicable regulatory requirements.
Table of Contents
- Why suspected glass particles matter
- 1. Secure samples and define the event
- 2. Perform documented visual examination
- 3. Characterize morphology and size
- 4. Confirm composition with analytical techniques
- 5. Investigate and compare potential sources
- 6. Assess product impact and risk
- 7. Document conclusions and CAPA
- Frequently asked questions
Why a Glass Particle in an Injectable Matters
Injectable medicines require careful control of visible and subvisible particulate matter. A suspected glass fragment may originate from a container, processing equipment, a breakage event, handling, or sample preparation. Misidentifying the material can lead to an incorrect root cause, while an unsupported source conclusion can weaken the investigation.
Do not identify a particle as glass based on transparency, sharp edges, or colour alone. Treat the observation as a hypothesis until analytical evidence supports it. Follow established procedures for quarantine, escalation, and quality-unit review.
1. Secure Samples and Define the Event
Start by recording the product name, strength, batch or lot, container type, inspection stage, date, location, and circumstances of discovery. Preserve the original container and particle whenever safe and feasible. Maintain chain of custody and document every transfer, opening, extraction, and preparation step.
- Place potentially affected material under the site’s documented control process.
- Record whether the particle was observed in the product, container, closure, or an inspection aid.
- Retain representative units and appropriate comparison samples.
- Use clean tools and a controlled work area to reduce secondary contamination.
Define the investigation question clearly: is the material glass, what is its likely source, and what is the potential impact on the affected lot and related batches?
2. Perform Documented Visual Examination
Photograph the particle in its original context before disturbing it. Record the inspection conditions, background, lighting, magnification, and the observer’s findings. Capture multiple views where possible, including a scale reference. Distinguish observations from interpretations: “translucent angular fragment” is an observation; “container glass” is a source hypothesis.
Examine the container for cracks, chips, impact marks, neck or finish damage, and evidence of breakage. Review handling and line events without assuming that a visible defect proves causation. For broader inspection qualification context, see our guide to Knapp kit qualification for prefilled syringes.
3. Characterize Morphology and Size
Optical microscopy can document shape, colour, transparency, surface texture, edges, and approximate dimensions. Use calibrated measurement practices and retain original images. If particle recovery is required, use a validated or otherwise justified method that minimises breakage, loss, or introduction of extraneous material.
Scanning electron microscopy (SEM) can provide higher-resolution images of surface features and morphology. Particle shape may help compare candidates, but morphology by itself is rarely sufficient to establish a unique source. Avoid over-interpreting a single feature or one particle.
4. Confirm Composition With Analytical Techniques
Choose the analytical method based on particle size, expected material, sample condition, and the question being asked. SEM with energy-dispersive X-ray spectroscopy (SEM-EDS) can identify elemental constituents and support comparisons between the unknown particle and candidate materials. However, EDS reports elements, not a definitive glass type or source by itself. Substrate, coating, geometry, and interaction volume can affect results.
Where appropriate and technically feasible, complementary methods may include optical microscopy, micro-FTIR or Raman spectroscopy, and other material-specific analyses. Silicate-rich elemental results may be consistent with glass, but interpretation should consider the full spectrum, instrument limitations, reference materials, and potential contamination. Some glass formulations have similar elemental profiles; a match should be described with a justified level of confidence.
For a related overview of elemental particle work, read metal particle contamination in pharmaceutical products and our comparison of SEM-EDS vs FTIR for unknown particle identification.
5. Investigate and Compare Potential Sources
Build a source map before selecting a root cause. Potential candidates may include the primary container, ampoule or vial manufacturing defects, filling-line breakage, glass-to-glass contact, transfer equipment, upstream process components, laboratory tools, and handling or transport damage. The relevant list depends on the specific container-closure system and manufacturing process.
Compare the unknown particle against reference samples from plausible sources using the same or comparable analytical conditions. Evaluate elemental composition, morphology, colour, thickness, and other material characteristics together. Review batch records, interventions, line stoppages, breakage logs, inspection rejects, maintenance, supplier notifications, and trends across batches or packaging components.
A source conclusion is strongest when multiple independent evidence streams agree. If evidence only supports compatibility, say “consistent with” rather than claiming a confirmed source. If the source cannot be established, document the uncertainty and the additional evidence needed.
6. Assess Product Impact and Risk
The quality unit should assess the event using approved procedures and applicable regulations. Consider the particle’s confirmed or probable identity, size and shape, number of affected units, distribution across the batch, route of administration, patient population, and whether other units or lots may be involved. Do not use a single laboratory result as the sole basis for a batch disposition decision.
Review applicable requirements for visible and subvisible particulate matter, including relevant pharmacopeial chapters and regulatory guidance. The FDA provides information on drug and biologic product guidance documents; confirm which current guidance applies to the product and market. Regulatory expectations and official compendial text should be checked directly by the responsible quality and regulatory teams.
7. Document Conclusions and CAPA
The final report should connect the initial observation to the evidence, source assessment, risk evaluation, and actions. Include:
- Event description, sample identifiers, chain of custody, and deviations from the planned method.
- Original photographs, microscopy images, scale information, analytical settings, spectra, and interpretation.
- Reference-sample comparison and the rationale for accepting or rejecting each source hypothesis.
- Limitations, uncertainty, alternative explanations, and impact assessment.
- CAPA with owners, due dates, effectiveness checks, and trend-monitoring criteria.
CAPA may include supplier corrective action, container handling improvements, equipment or line interventions, enhanced inspection, training, or changes to sampling and monitoring. Select actions based on demonstrated or reasonably supported causes, not speculation. Verify effectiveness using predefined, measurable criteria.
Frequently Asked Questions
Can visual appearance alone confirm glass?
No. Appearance can guide the investigation, but composition should be supported by suitable analytical evidence and documented interpretation.
Does SEM-EDS prove that a particle came from a vial?
Not on its own. SEM-EDS can support material identification and comparison, but source attribution usually requires reference samples and corroborating manufacturing or handling evidence.
What if the particle is too small to recover intact?
Document the limitation, consult the laboratory’s validated or justified methods, and select an approach suited to the available sample. Do not imply a confirmed result if the sample or method cannot support it.
Conclusion
A defensible glass particle in an injectable investigation follows a clear sequence: contain and document the event, preserve the sample, characterise morphology, confirm material properties with appropriate analytical methods, compare plausible sources, assess patient and batch impact, and implement verified CAPA. The most credible conclusion is the one that accurately reflects both the evidence and its limitations.
Confianca Pharmazon supports pharmaceutical teams with particle characterization and visual inspection-related solutions. Learn more about our pharmaceutical products and services.
Image credit: CDC via Unsplash. This article is for technical information only and does not replace applicable regulations, compendial requirements, validated procedures, or quality-unit decisions.